Short answer how to hook up monitor to laptop: Connect the VGA or HDMI cable from the monitor to your laptop’s port. Press the function key on your laptop and select “projector” mode. Alternatively, you can use a docking station or USB adaptor for multiple monitors.
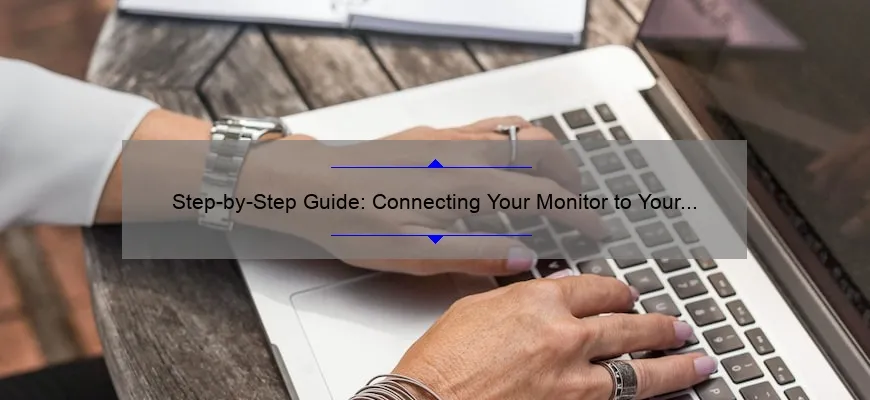
Expert Tips and FAQS – How to Hook up Your Monitor to your Laptop
Are you tired of squinting at your laptop screen for hours on end? Do you want to take advantage of the larger monitor collecting dust in the corner of your room? Well, look no further because we have expert tips and FAQs on how to hook up your monitor to your laptop.
First things first, let’s talk about cables. Depending on what type of ports are available on both your laptop and monitor, you may need different cables. The most common types of cables include HDMI, VGA, DVI, and DisplayPort. If you’re not sure which cable is best for your specific setup, consult with a tech expert at a local electronics store or search online.
Once you’ve secured the necessary cable(s), plug one end into your laptop and the other end into the corresponding port on your monitor. It’s important that both devices are turned off before plugging in any cables to avoid damage.
Next, turn on both devices and access display settings on your laptop (usually found by right-clicking desktop background). From there, select “extend” instead of “duplicate,” which will allow you to use both screens simultaneously.
One little-known tip is adjusting scaling settings. This can be especially useful if using an ultra-high resolution 4K monitor – everything may appear small and difficult to read without proper adjustments! In display settings again click “Advanced scaling”.
In rare cases where the monitor doesn’t seem to be displaying anything after following all these steps properly don’t hesitate restart all input/output electronic products including computer/monitor/hub/speaker one-by-one from powered-off state observe during start-up highlights logos etc as each product boots so it’s clear when device detects connection
Now onto some frequently asked questions:
1. Can I connect more than one external monitor?
Yes! However this depends solely upon availability n computing capacity since each additional screen requires additional sharing resources among attached monitors reducing overall power output maximally favoring display performance over other application areas- if you need your computer/resource heavy work or intense gaming capabilities reserving resources to accommodate a multi-monitor setup may affect individual performance
2. Do I need an external speaker for audio when using a monitor?
If using HDMI cable that supports transferring audio there is no additional set up required- just select headphones/monitor speakers as desired output source in the sound control panel and enjoy! For VGA/DVI cables, however, only video signals are sent – so you will likely need external speakers.
3. How can I adjust screen resolution?
Display settings again by right-clicking desktop background provides options one of which includes “Resolution” allowing you to tune the size how it appears making things larger/smaller overall-or overriding high-resolution monitors properly displaying too small visuals due default scaling preferences 50% more steps at once!
In conclusion, hooking up your monitor to your laptop doesn’t have to be a daunting task. By following our expert tips and FAQS, you’ll be well on your way to enjoying all the benefits of a bigger screen in no time!
Top 5 Facts About Connecting a Monitor to Your Laptop You Should Know
Connecting a monitor to your laptop can be a great way to enhance your overall computing experience. Not only does it help increase productivity by providing more screen real estate, but it also improves the visual quality of what you’re working on. However, before you start plugging in cables willy-nilly, there are a few things you should know about connecting a monitor to your laptop.
So without further ado, here are the top 5 facts about connecting a monitor to your laptop that every computer user should know:
1) Cable Choices Matter
First and foremost, selecting the right cable is crucial when connecting your laptop to an external display. There are various types of cables available such as VGA (Video Graphics Array), DVI (Digital Visual Interface), HDMI (High-Definition Multimedia Interface), and DisplayPort. Each type has its own specifications and varying levels of compatibility with laptops and monitors.
HDMI is the most common choice among users nowadays due to its multiple benefits; including high resolution support with audio capabilities as well as ease-of-use connectivity for displays.
2) Multiple External Displays Are Possible
Not many people realize this fact but having two or even three additional external displays connected simultaneously could really boost efficiency especially if engaged in multitasking work setups like developing code while maintaining several windows open on different screens for both immediate reference & comparison purposes.
However one must note that multiple extended desktops will highly depend on abilities of graphic card supporting device being used like personal computers rather than laptops which require advanced processing systems necessary for extensive visuals management.
3) Resolution Matters!
When shopping around for a new external display or deciding which one(s) from home/office use would suffice best during project runs etc., make sure they’re able fulfill appropriate on-screen resolutions required for desired outcomes or projects at hand i.e higher resolutions mean clearer pixels resulting better text readability superimposed contrast defintions compared lower pixel densities thus impacting negatively textual clarity either improving imagery sharpeness.
4) Adjust Your Display Settings
Once you have connected your laptop to the external display, it’s essential that you take steps and adjust its configuration settings. This includes things like resolution, scaling or orientation etc.
In Windows on most laptops, right-clicking an empty space from desktop view allows interaction with visual setting options under “Display”. Afterward one can access “Advanced Display Settings,” then select monitor size & resolution used plus improve/reduce scaling ratio feature affecting text sizes as well how images appear brighter vs darker against background contrasts being observed which can be adjusted according to individual preferences.
5) It’s Not Always Plug-and-Play
Though connecting a laptop to an external monitor is quite straightforward and easy; some setups may require more time than just plugging cables in order configure hardware involved correctly especially when using sophisticated machines graphic card capacities might create conflicts requiring thorough troubleshooting experiences In such scenarios following installation manuals provided by manufacturers prove very helpful however Online support centers also offer insightful solutions for resolving connectivity issues users face during setup stages..
Connecting a monitor to your laptop carries many benefits spanning from extra screen area definition resulting multiple productive sessions without toggling back&forth between different tabs running project-oriented apps ..
Ultimately selecting appropriate cable type based requirements ensuring compatibility works best while making sure preferred resolutions are met settled down together pertinent adjustments keyboard system available so desired projects goals achieved efficiently finally confirming signal-based efficiency guarantees successful use of for all purposes expected thereafter.
Simplify Your Life: The Easiest Way To Connect Your Monitor To A Laptop
Connecting a monitor to your laptop can seem like a daunting task, especially if you are not tech-savvy. However, it is easier than most people think and can significantly improve your productivity by expanding the screen real estate of your laptop.
Here’s how to connect your monitor to your laptop in just a few simple steps:
Step 1: Check Your Ports
The first step is to check what kind of ports both your laptop and external monitor have. Most modern laptops come with an HDMI port or USB-C port that can be used for display output. Similarly, newer monitors usually have at least one HDMI input port.
If you’re unsure about which ports you have available on either device, consult their manuals or look up reviews online. Once you know what types of connections exist between the two devices, move onto Step 2.
Step 2: Get The Right Cable
Next, ensure that you have the right type of cable for connecting these ports together. For instance, if both devices feature HDMI connectivity, then use an HDMI cable to link them up. If one has USB-C while the other uses DisplayPort technology (or any combination), purchase an appropriate adapter before proceeding further.
Keep in mind that with some older displays supporting VGA or DVI input signals instead of typical digital outputs; these may need additional converters/cables as well.
Step 3: Connect The Two Devices
Once all cabling needs are accounted for correctly and ready-to-go … Put everything where they should go! Simply plug-in respective cables fully seated into each end’s appropriate bidirectional jack-sockets – ensuring decent contact point mechanics within those difficult bearings – and voila!
Windows will register this new connection almost immediately upon state change sequencing so hold tight from now onwards until exclusive desktop views seamlessly integrate afterward install completion … Ranging out variety resolution options provided-by accordingly-adjusted screens-menus linked-up via software installation nuances required throughout Useage-changing preference selections (i.e., preferences-menu display window or configuration utility.)
Connecting an external monitor to your laptop is an easy process that can significantly enhance your work experience. The key is to ensure you have the correct cabling and ports before beginning, then following these simple steps above.
By simplifying this connection process you will be able to boost productivity quickly with a bigger screen area whilst enhancing overall visuals in a way that better matches the needs/tasks at hand… whether large-scale presentations for remote venturing or small-group focused sessions – either way: make life easier!
